

Squarespace Auto Layouts Feature (7.1)
And How To Customize A Simple List Layout
If you are a Squarespace circle member you’ve probably noticed the new auto layouts section update on your website or maybe even your client’s website if you’re building any through your account. This new update/feature has been in effect since early May (or from what I can recall), but I definitely think it’s a game-changer for many of us, web designers.
Currently, there’s been no news as to when this feature update will roll out to all Squarespace users, but if you’re new to Squarespace or are not a Squarespace circle member, you can get ahead of the game with this little bit of info. These new features have really stepped up the game in designing in Squarespace. But as with anything it does come with some limits and a small bit of a learning curve.
Like me, you have probably already started playing around with it to see how customizable these sections really are. I’ve had a lot of fun getting in there and figuring out these new layout designs and trying out the various styles it offers. However, there were a few times I couldn’t fix certain items in the design tool section, so after playing around with the design edits inside these layouts I headed into my CSS and started playing around in there and was excited to figure out how to customize these sections in CSS, which is what I will be sharing with you today.
Before I go into sharing my quick tip on how to customize these sections I’d like to show you what can already be done without coding.
Before we get started here’s a quick disclaimer: This blog is neither endorsed, sponsored, or affiliated with Squarespace. However, Please note that some links are affiliate links and I will earn a small commission if you purchase through those links. I use all the products below and recommend them because they are companies that I have found helpful and trustworthy. Please let me know if you have any questions about anything listed below.
First, let’s take a look at where you can find these auto layouts. When you start to edit a page, add a section. You will see a design layout popup allowing you to select your section layout preference. Click the list tab (on the left) to see the auto layout sections with the word “AUTO” on the top right of the layout like shown in the video below.
Once you have selected your layout preference you can start designing and adding your content. When you start building and designing your section you’ll see a few design options. I would recommend you play around and get familiar with these settings before doing anything in CSS.
As I mentioned at the beginning of the blog, the auto layouts section does have some limits to the section design, but that doesn't mean it’s impossible. Here is where I finally turned to CSS to get more design features added.
Now, before you continue reading, I do want to note that this code only applies to the simple list auto layouts design with the card feature. So you will need to make sure you have the card option on and it’s on the simple list design option.
Okay, let’s go ahead and get started.
1. Insert Code
Insert the following code below in your CSS settings. This will target the list items within the layout section.
[data-section-id="60d4f0e8656c97214459877a"] li.list-item { insert code style here}
You may get a syntax error notice but disregard it for now.
2. Target Data Section ID
Before you start inputting your style code you need to identify the data section id so you can target the correct section. Hover over the section (try to select the background section away from the list items), right-click and select inspect.
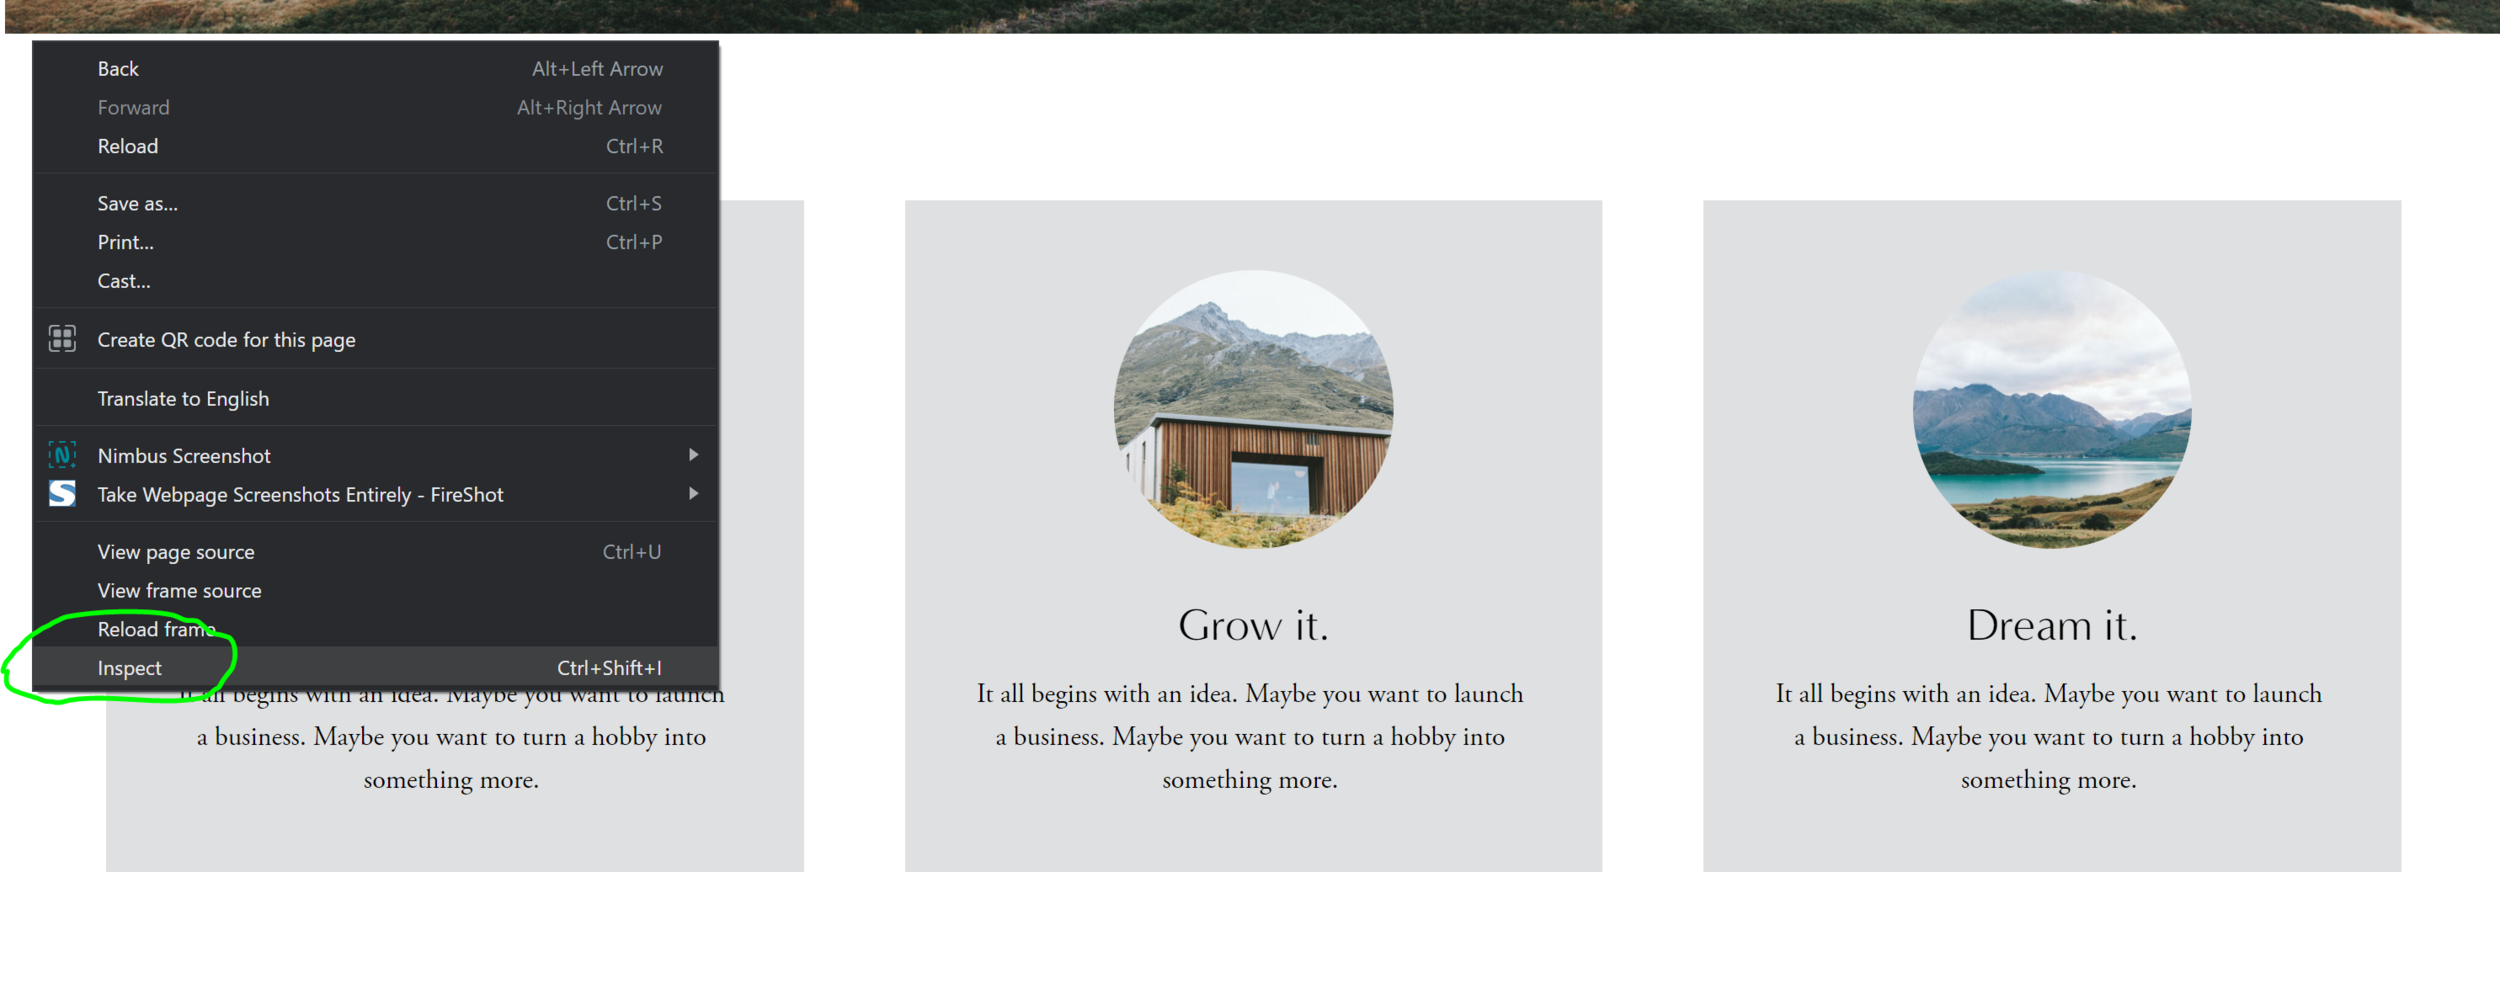
Search for the data-section-id under section. Double click the long code, exit the inspect page, and replace the existing data section id above with yours.

So your full code should look something like this but with your unique data section id.
#collection-60e5a8355a7cc469ee68efa9
[data-section-id="60e5a8520e2c4f4545c27f7a"]
li.list-item { insert code style here}
Now you’re ready for the final step.
3. Customize
Now you can add your style codes. Once you start inserting your codes the syntax error should disappear. Here are a few different designs I did in mine to show you what you can do with yours.

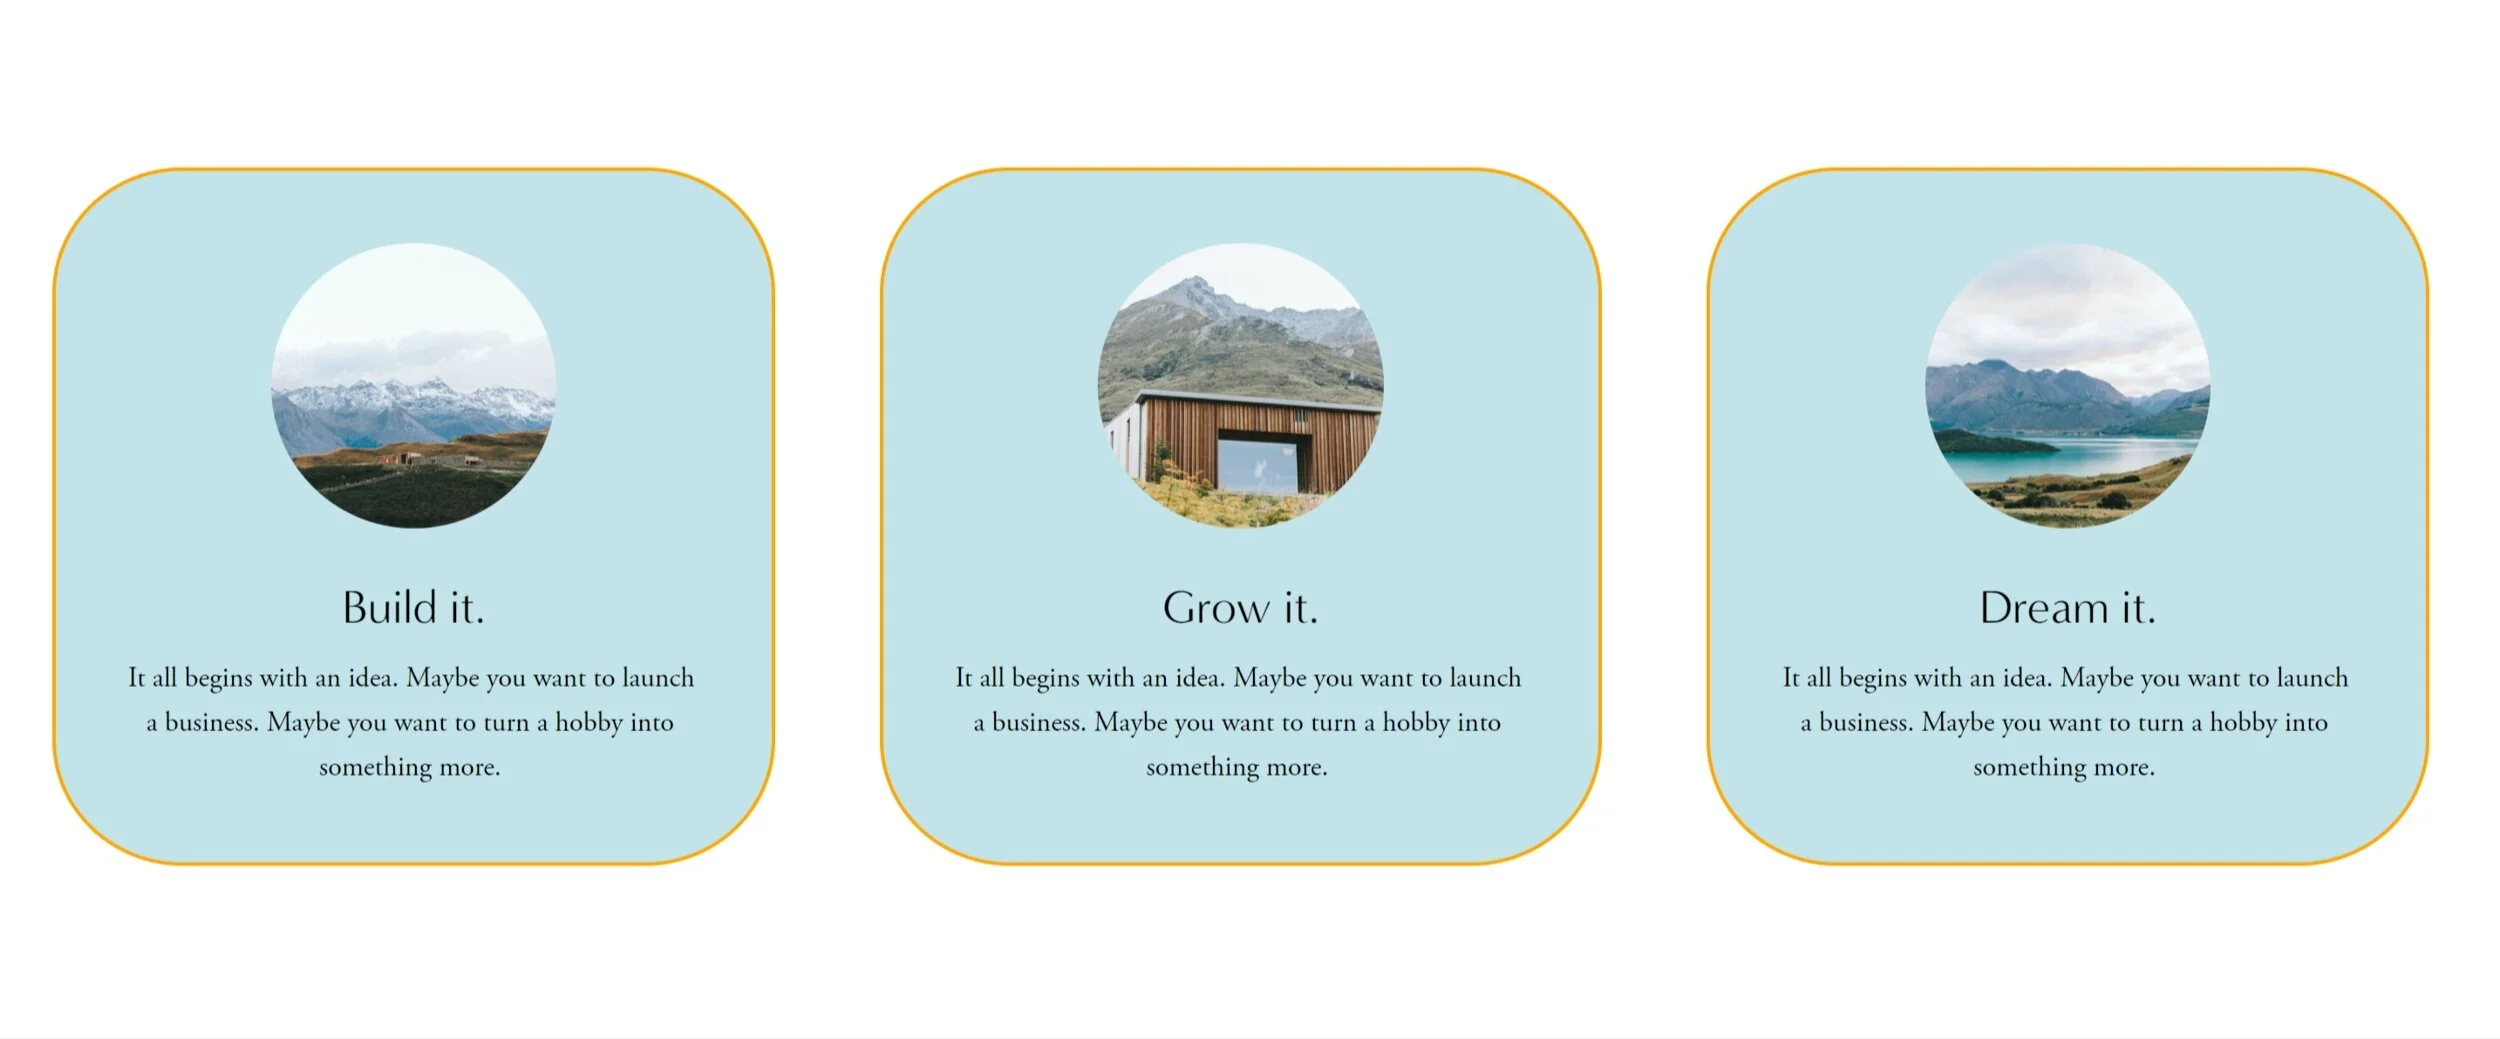
Now, remember you can style the card background color and text color in the design tool section of your website. Scroll all the way to the bottom to LIST SECTION:SIMPLE.

Voilà! Now can you take these simple list auto layouts to a whole new personalized level.
I hope this little hack was helpful and I was so excited to get this tip on my blog because I haven’t seen a whole lot about how to customize these auto layouts in the CSS settings. But now I can provide a small bit of information to help you design more customized websites.
I am still working on testing the other auto layouts in Squarespace, so I hope to have another tip out soon.
If you’re not a Squarespace circle member but would like to access these awesome features before they roll out to everyone then you can do so with yours truly. I’ve already implemented this new feature on a few of my client's websites and I have only heard good things about it. If you’re interested in learning more or would like to see some of my work then shoot me an email. You’ll not only get a beautifully designed website, but you’ll also get an impactful website that is wireframed and designed to make your message stand out and bring your brand to life.
That’s it for now and I hope this blog was helpful and I hope you learned something new today. If you’ve created some great stuff on Squarespace I’d love to see them. Share your comments, questions, and thoughts below! 😃
Ciao!
-Berenice
Save time customizing your one-of-a-kind website. Sign up to my SquareMoves email list where you’ll get further action steps from blog posts, videos, and more to make your designs stand out on Squarespace!
