

Upload An SVG On Canva
You read that right. You can upload an SVG on Canva and the best part, it’s so easy. Have you found yourself uploading JPGS and PNGS only to reload them again with the right size, quality, or color? Just me, okay….
We’ll maybe you found yourself not finding the perfect clip art to use on your Canva design, so you settle with something that somewhat resembles what you’re looking for. Now you don’t have to. You can create your own clip art, upload them, change colors and still maintain the image quality of the clip art regardless of how big or small you make it.
Just another reason to love Canva. So below is a step-by-step process on how to create, upload, and edit an SVG file. Enjoy!
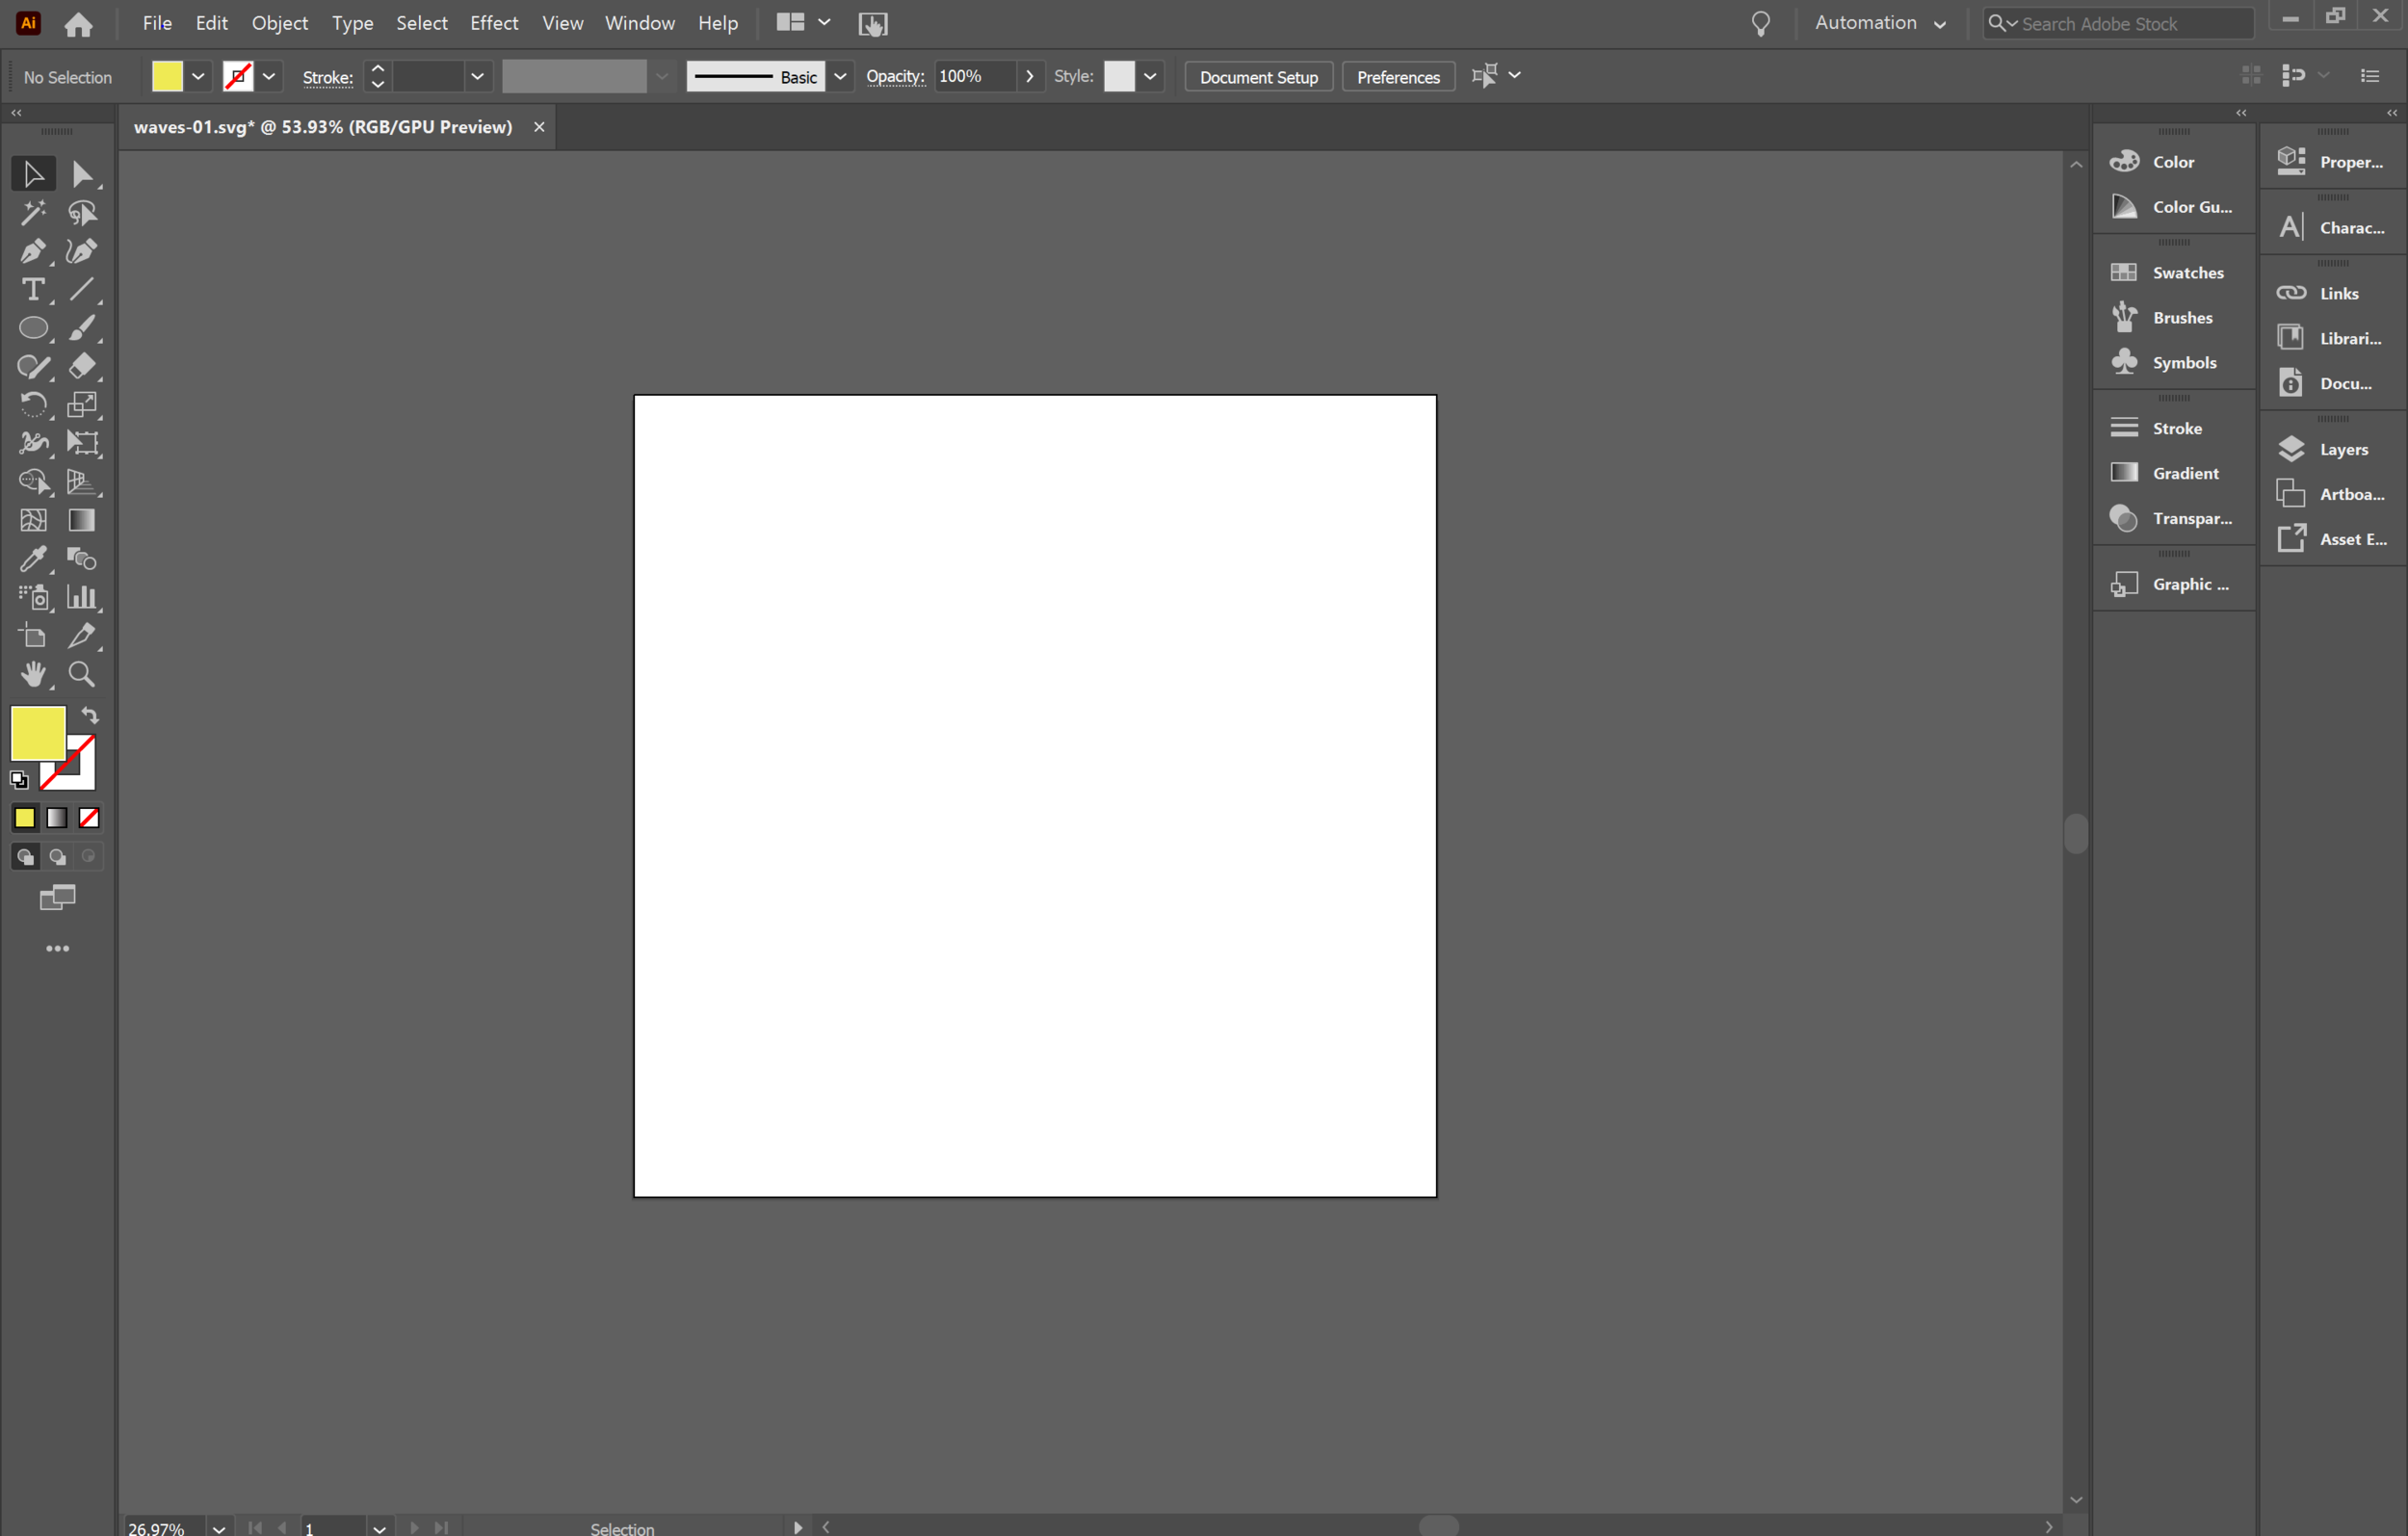
Step One: Create SVG File
What is an SVG?
An SVG, also known as Scalable Vector Graphics, is formatted on the web so that the pixels (lines, curves, color, and more) are easily read to make it easy to edit the file elsewhere, as well as adding animations to it. In this case, Canva reads the file as one shape but with a color identity that is changed and size that can be enlarged, cropped, or shrunk down. Okay, let’s keep going.
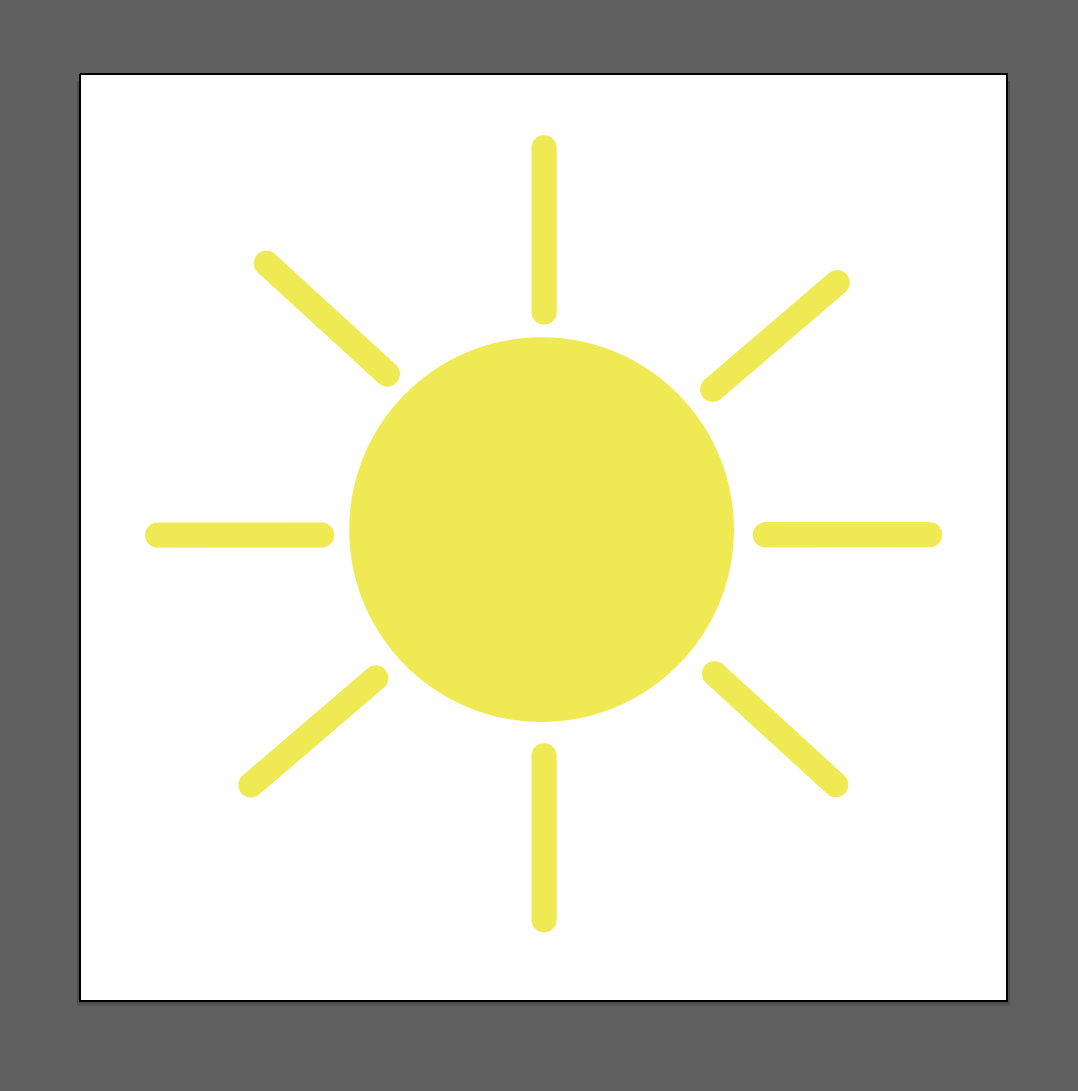
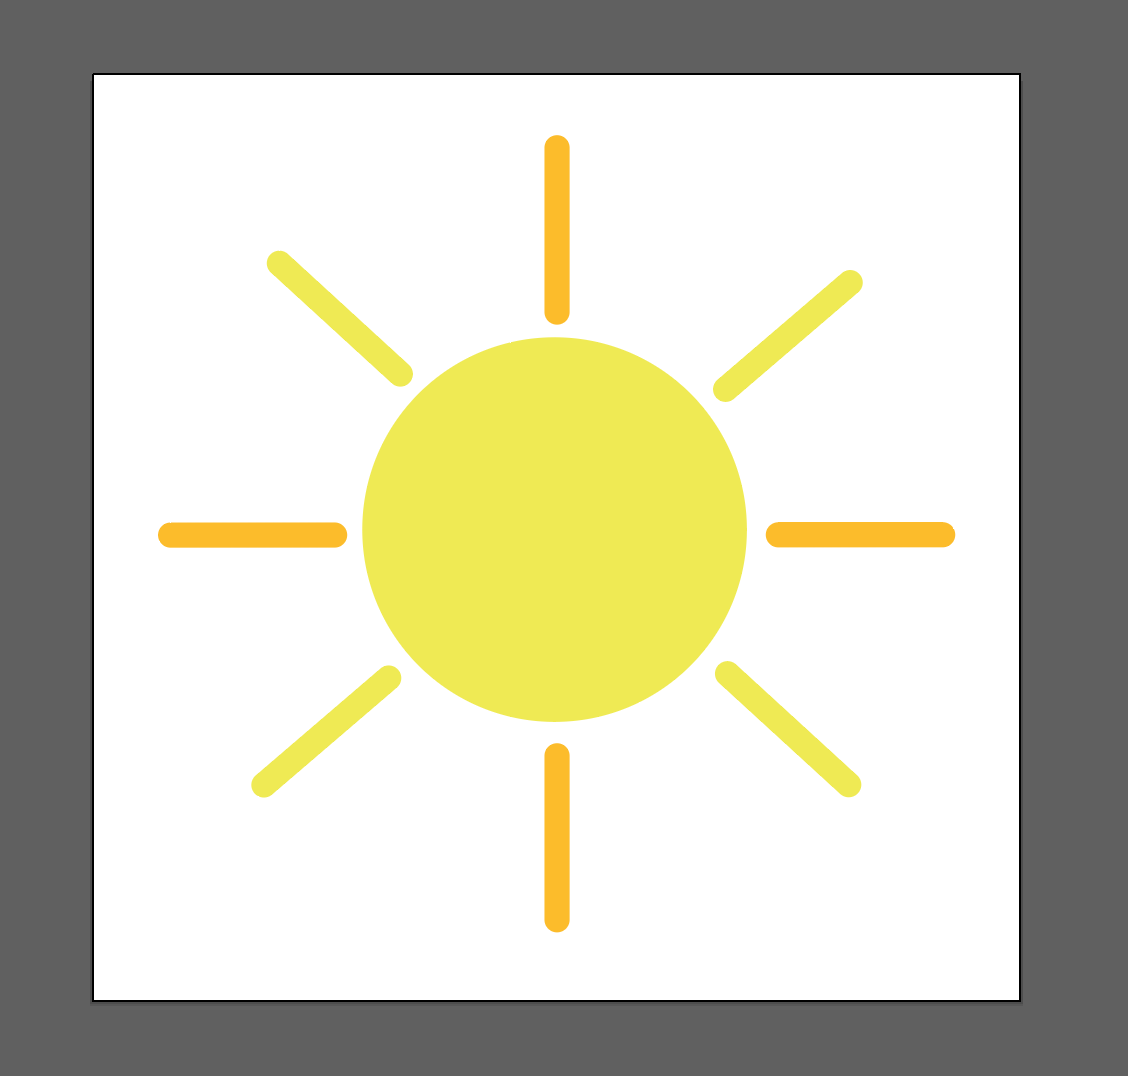
I like to create my SVG files on Adobe Illustrator, but you can also create them on Photoshop, an Adobe program. So, you can create any clip art you would like. For this post, we’ll just do something simple. like a sun.
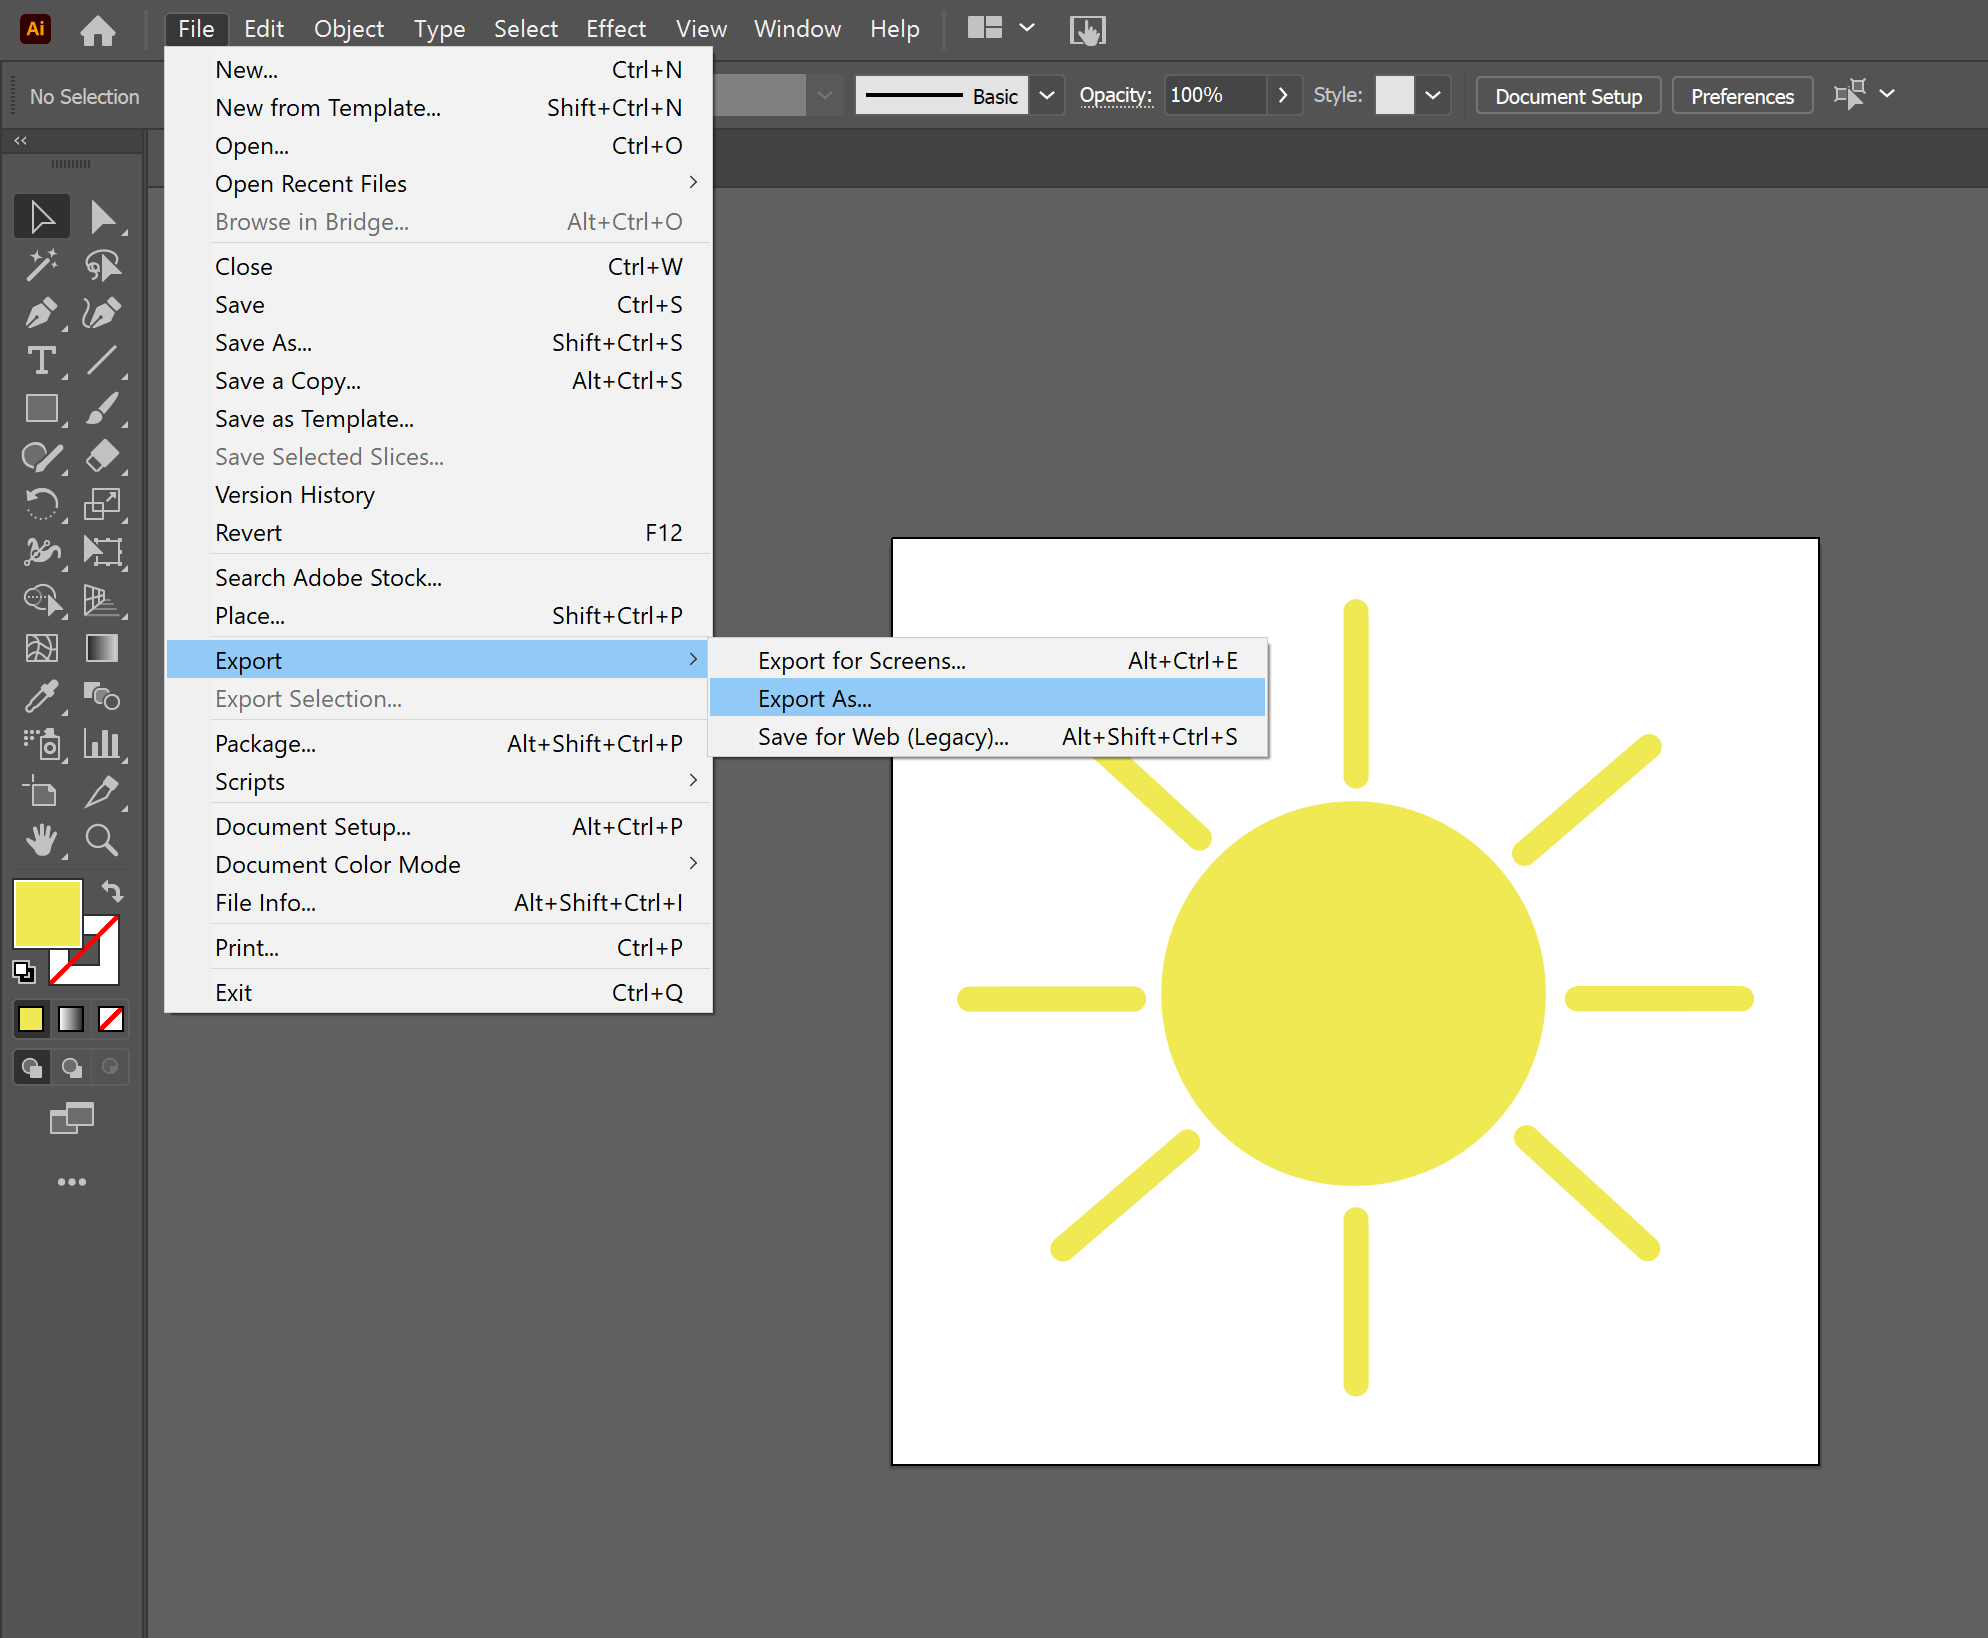
Step Two: Save The File
Once you are done creating the file, go the top of the page and click file > export as.
Step Three: Complete Forms
Name the file, save as type as svg and check the “use the artboards”. Click export.
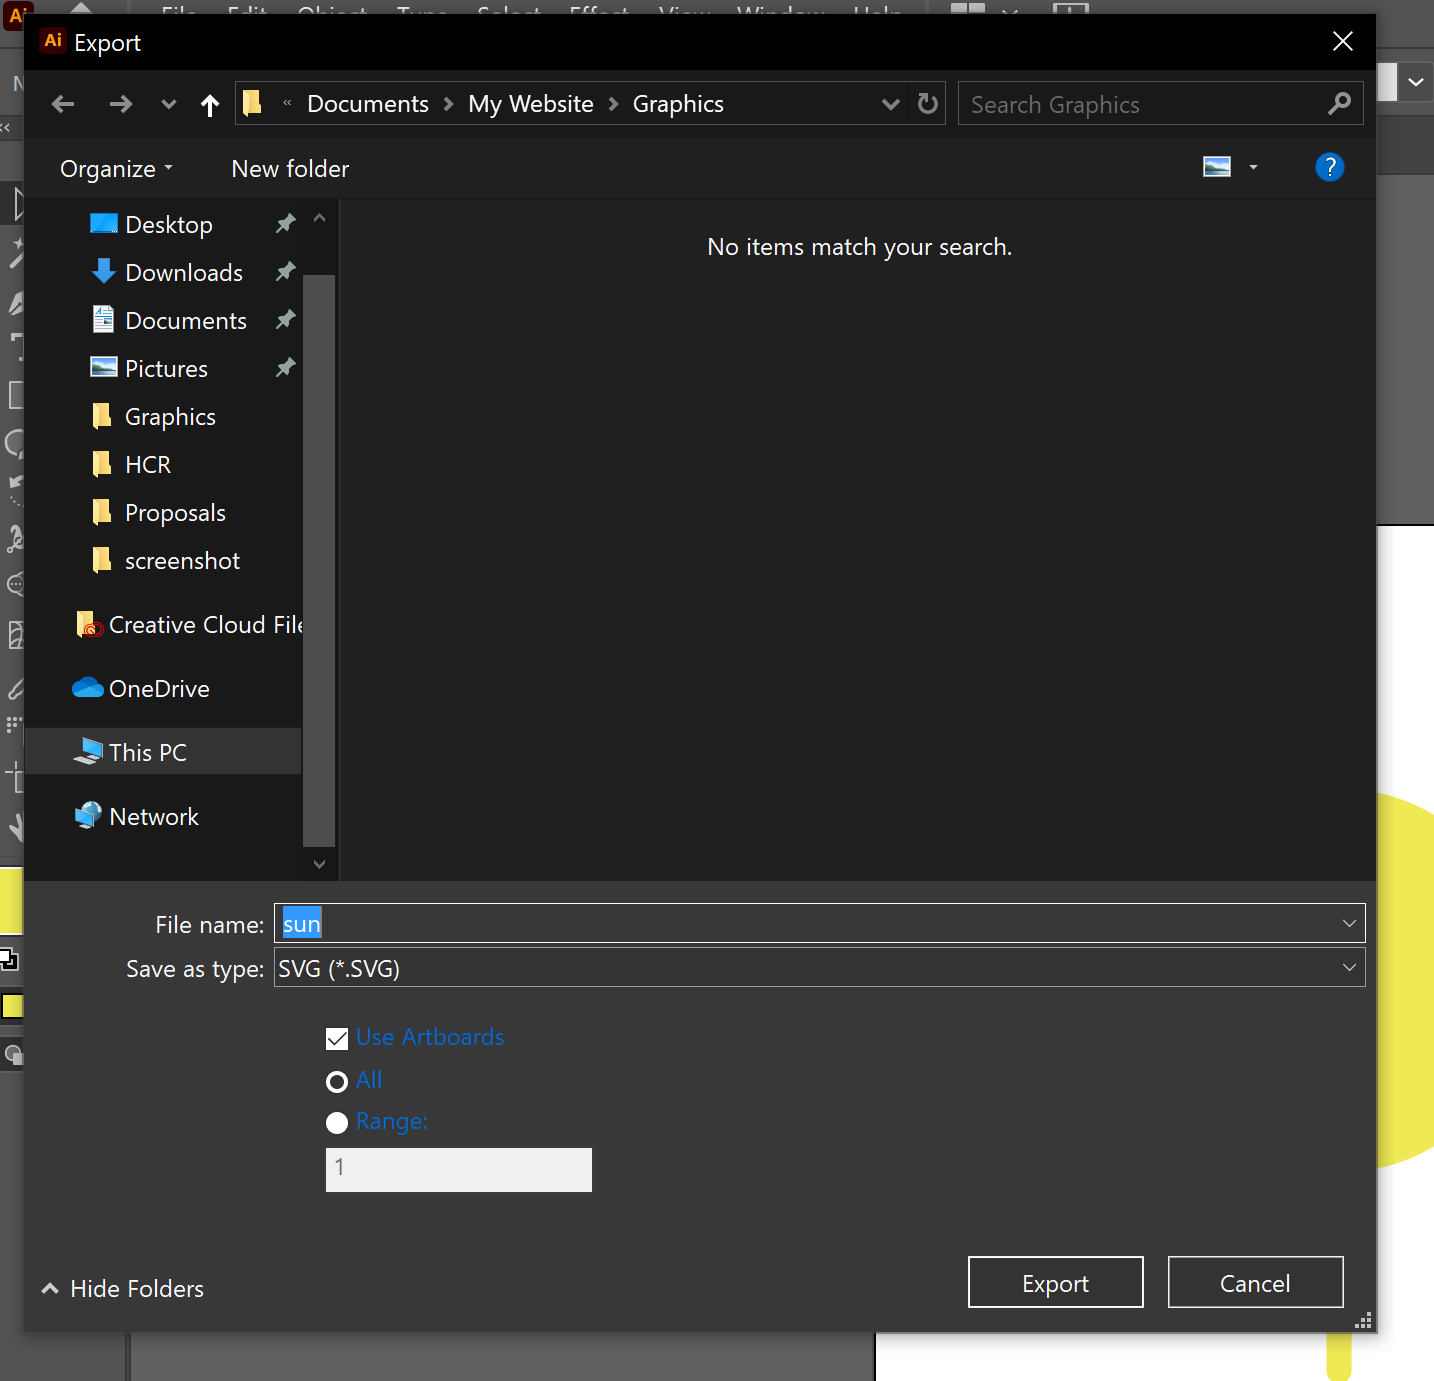
In the following box, set images as embed and check in the responsive section box under decimals. Click ok.

Step Four: Upload To Canva
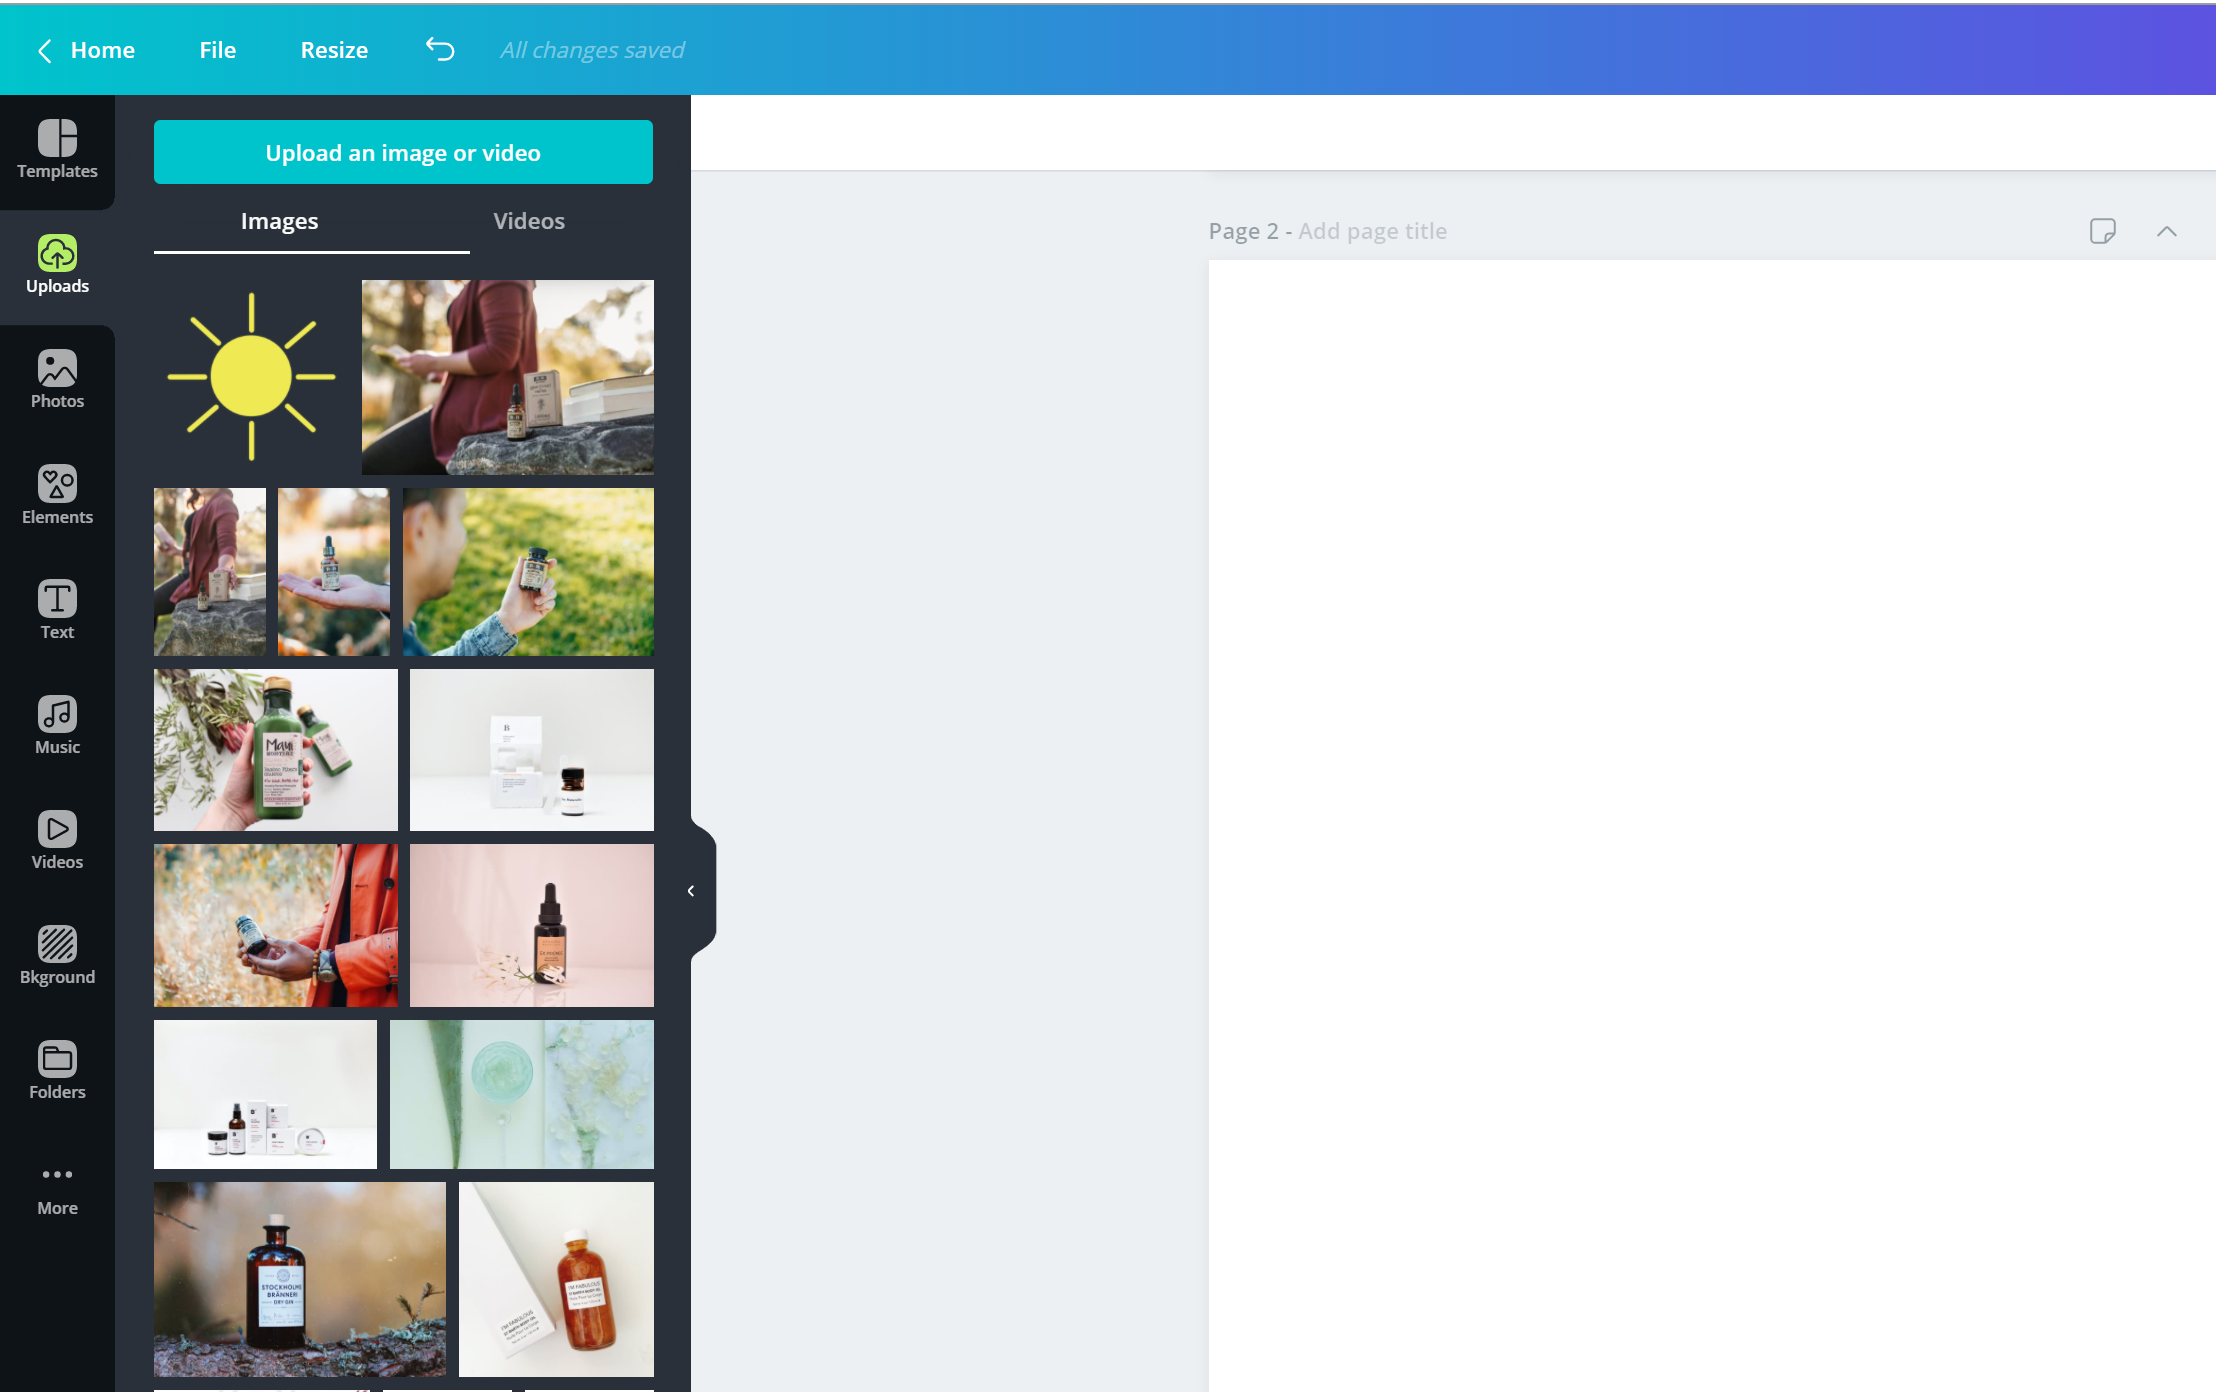
Now we are going to upload your file to Canva. Go to uploads tab on Canva and click on upload image/video. You’re file will look like a web link image like the one below. Select and click open.
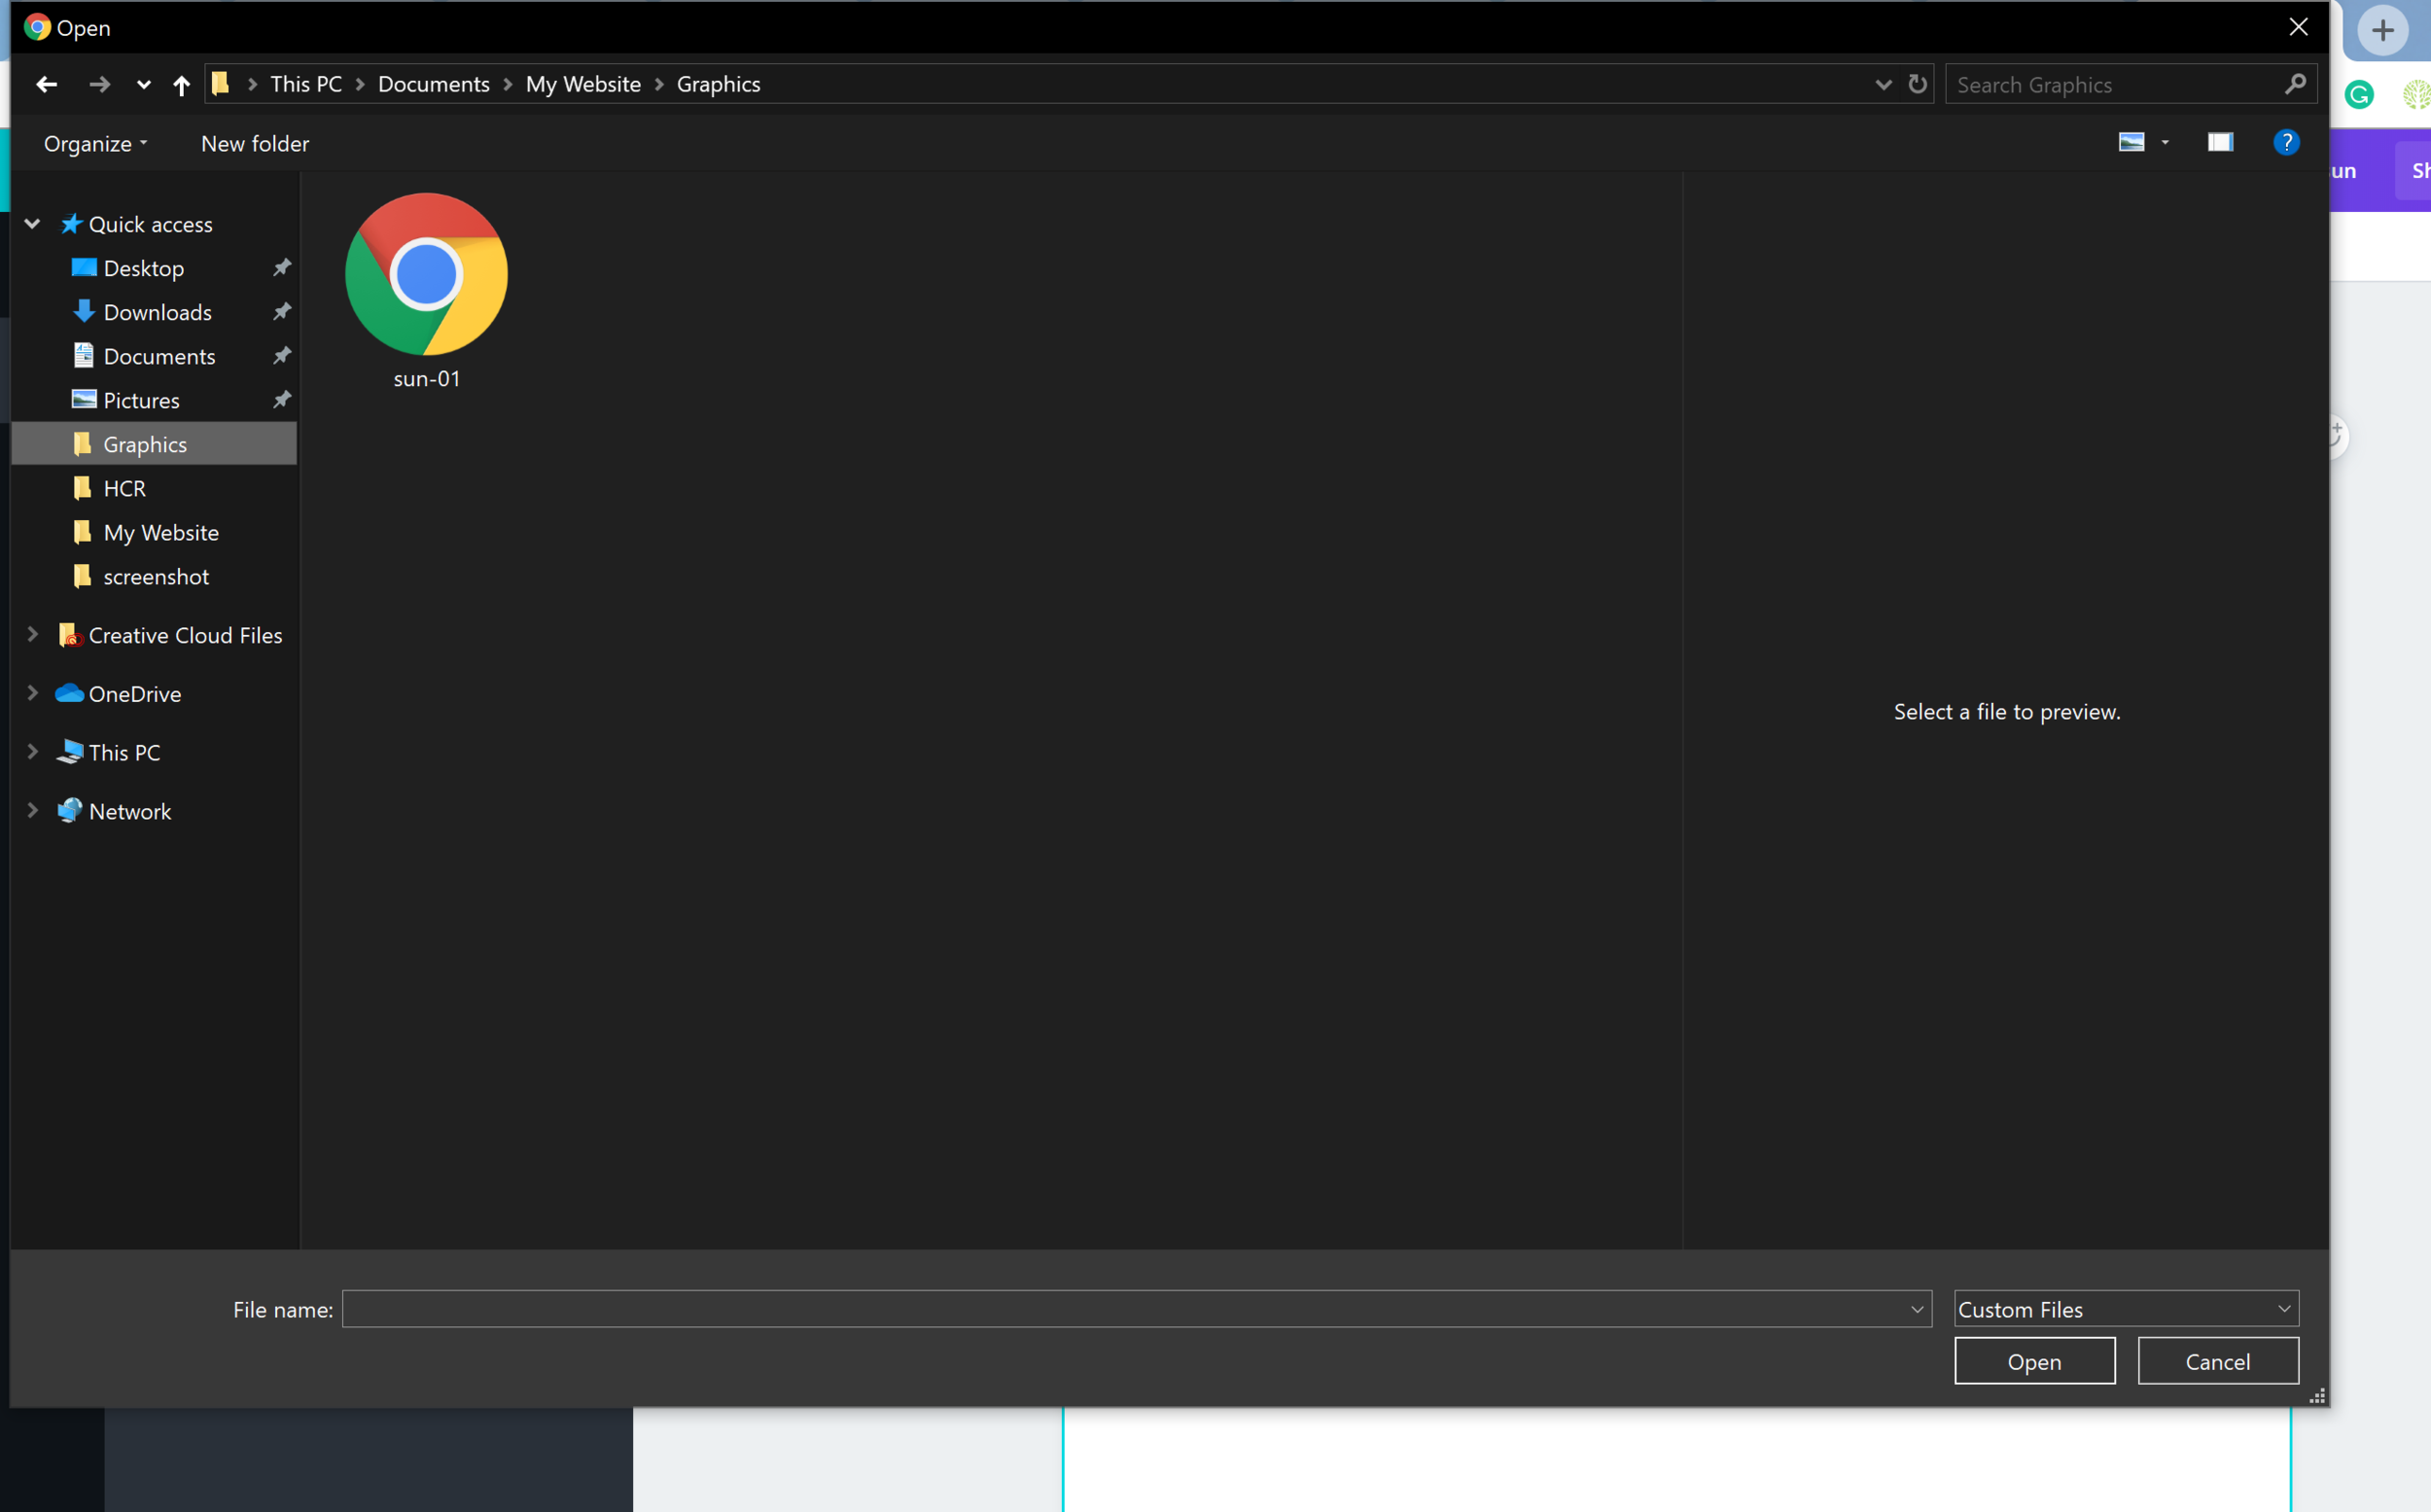
You should see your file upload and appear on Canva.
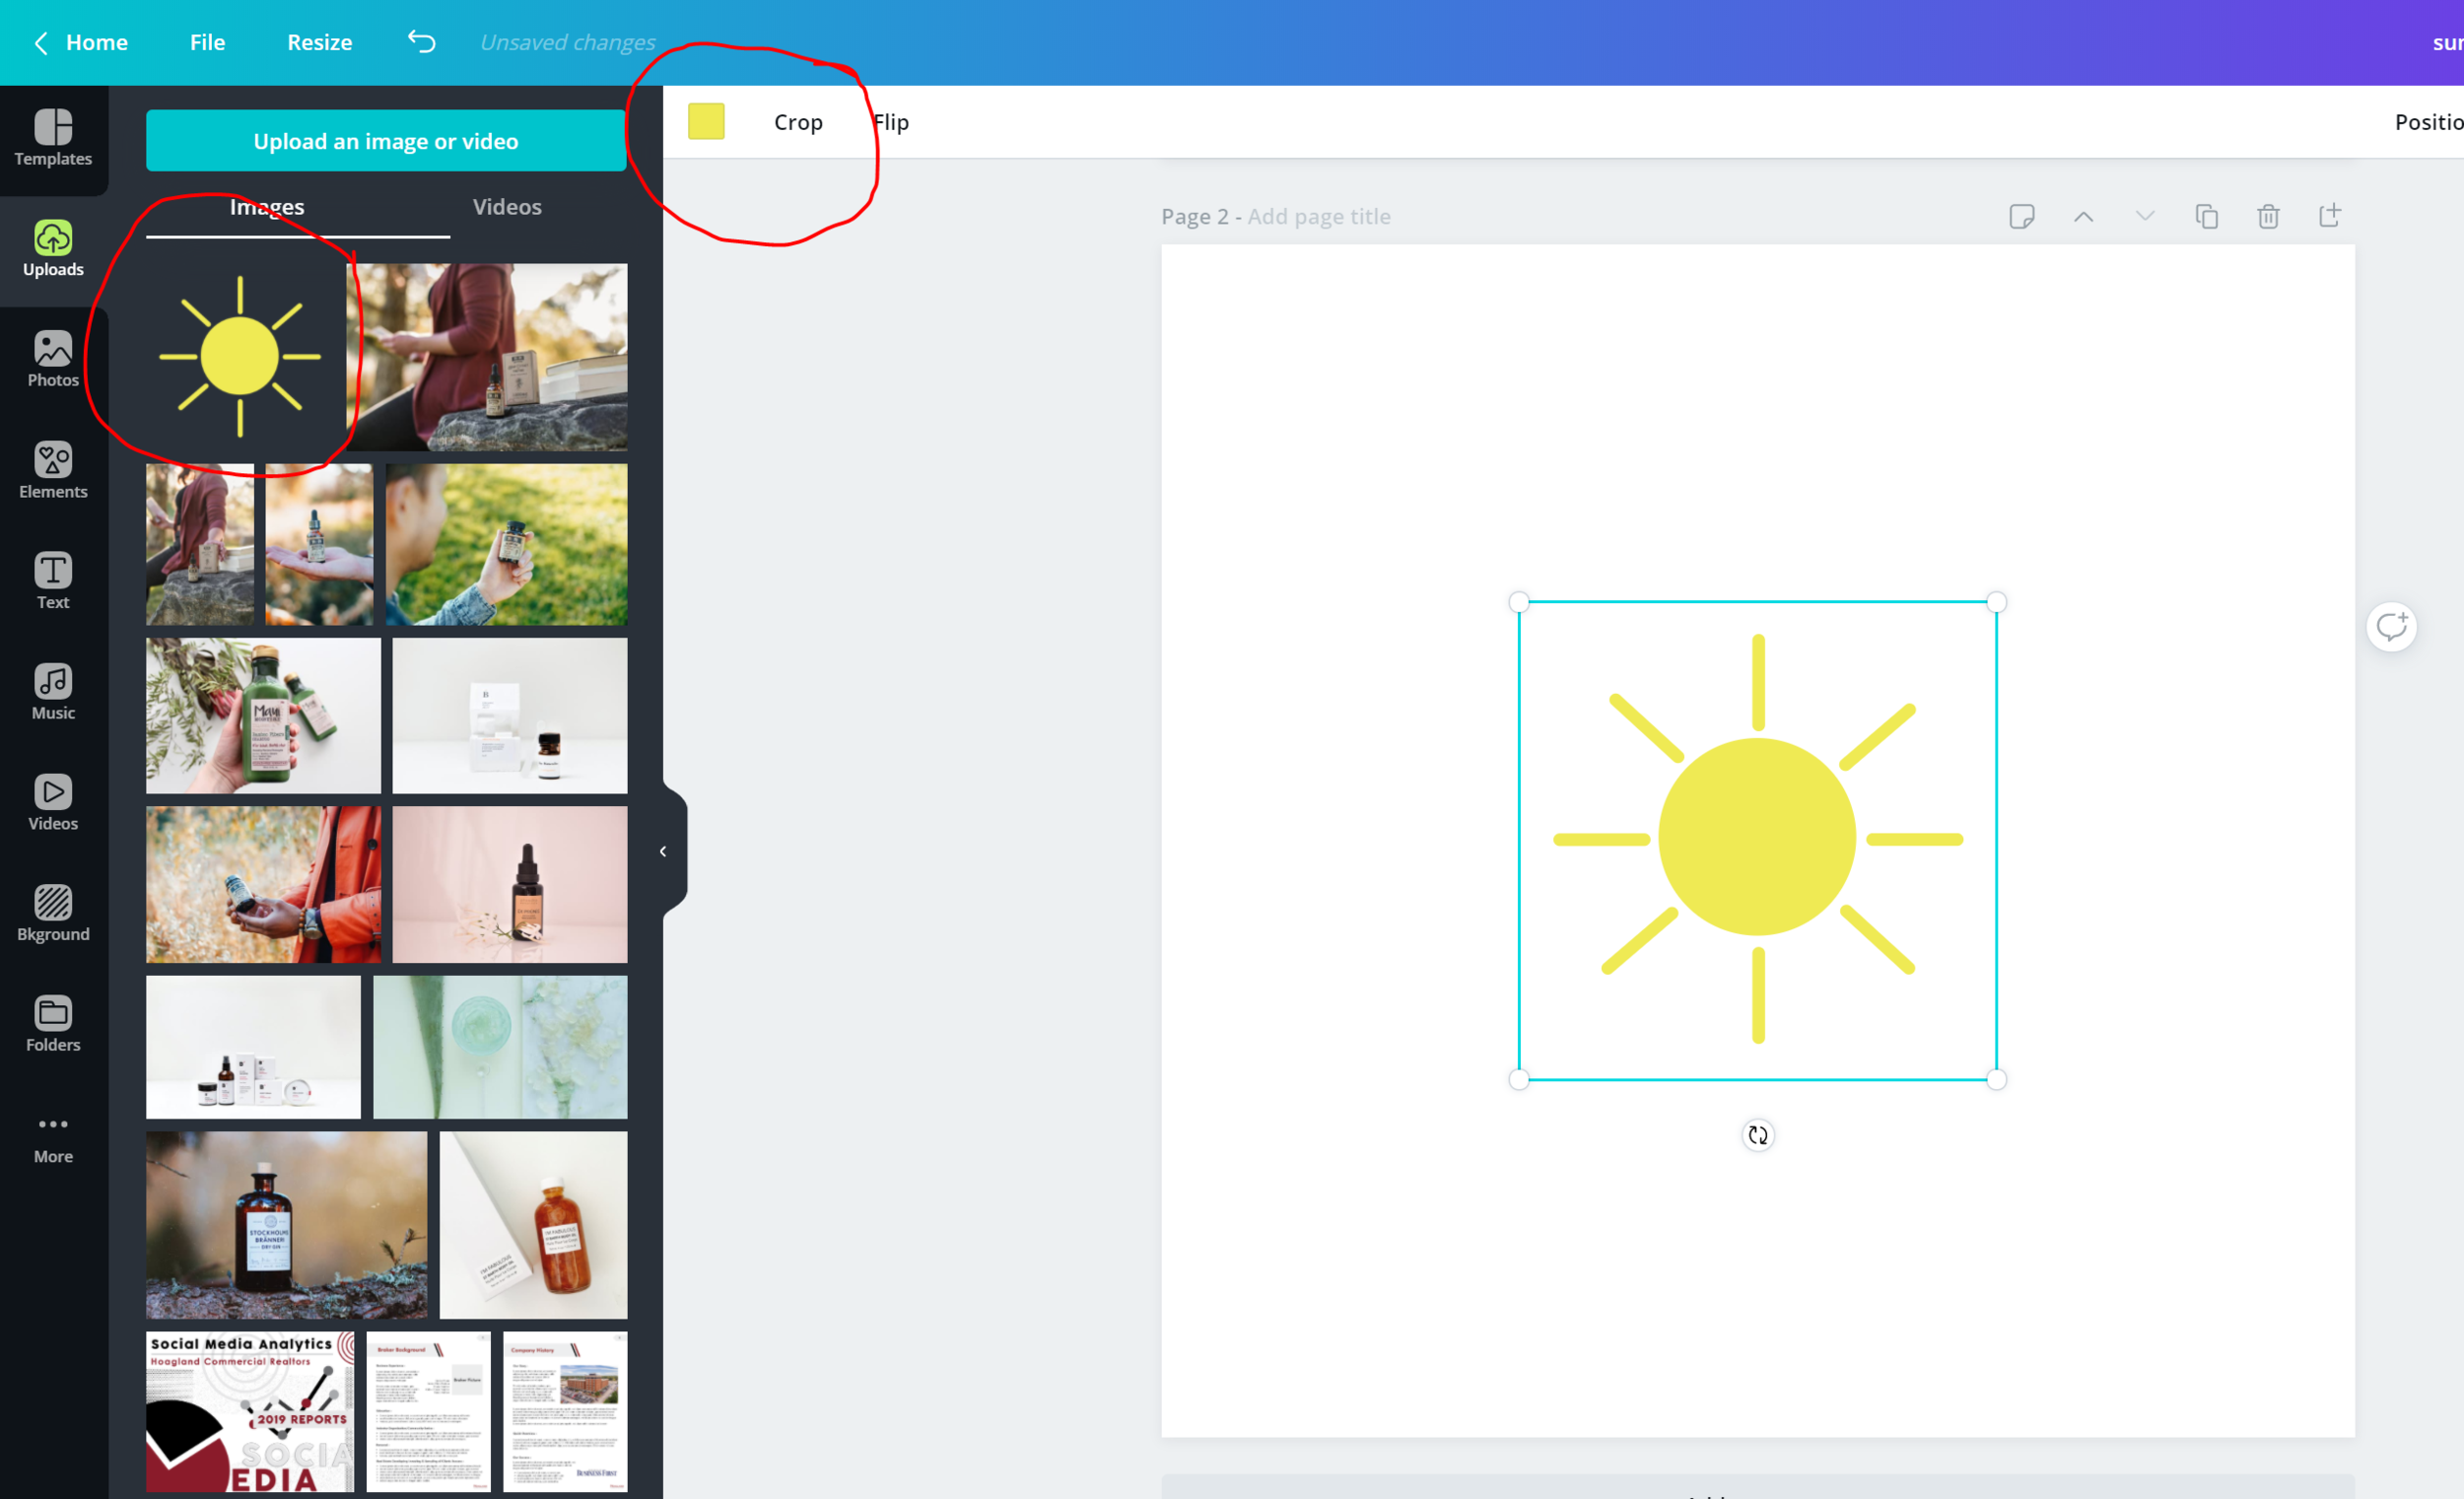
Step Five: Edit File
Now you should be able to see the color option above the art board where you can start making changes to the color.
Voilà! There you have it! You have officially uploaded your own SVG file! Yay! Now you can take on Canva like a pro!
Another cool tip is you can add multiple colors on a file like the example below. You can add up to 5 colors. I added an additional color to the sun we created and now you can see both color options at the top right of the artboard on Canva.

Alright, that’s it for now. Keep a lookout for more tips, hacks, and design tutorials like this one!
Ciao Creatives!
-Berenice
!!UPDATE!!
This article was originally published in 2020. It has since been updated to include information relevant to 2021.
Due to a recent update, Canva no longer supports SVG’s that include more than 5 colors.